Posted on March 28 2016

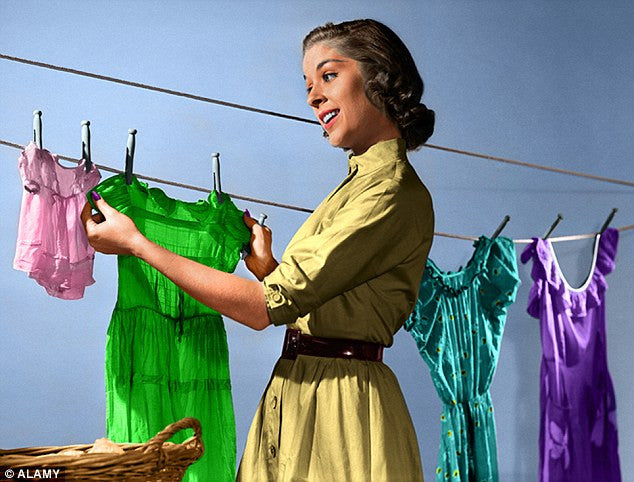

Shopping & Caring for Vintage Clothing
Here at Millie's we absolutely adore true vintage clothing! There is just something that feels special about wearing a piece of clothing that has so much history! Working at the shop has only increased my personal love for and knowledge of the subject! When buying and wearing vintage clothing there is a lot of helpful information to have. I wear true vintage in my everyday wardrobe so I thought I would share a few tips that I have learned on how to shop for vintage, how to care for it, and even how to wear damaged vintage!

1. How to Shop for Vintage
When shopping for vintage it is very important to know your measurements! Vintage sizes were much different than they are today. For example, I wear a modern 4/6, but am normally around a vintage 12! Lots of garments were also handmade and so they may not have a size label. The best thing to do is to know your bust, waist, and hip measurements! Also keep in mind your shoulder to waist measurement. Some garments are petite and some may be long-waisted!
When shopping for vintage online most sellers will list the measurements and if not you can usually ask them! When shopping in person, bring a measuring tape with you! I love to do this especially when hitting up an antique mall or a flea market. When you are somewhere you can't try clothing on, it is so much easier to measure than to be disappointed when something may not fit later!

2. Identifying Vintage
It is very important to be able to tell whether or not something is actually vintage. You don't want to pay the price of a 1940's dress and later find out it is actually from the 1980's! There are a few tricks to being able to tell true vintage from the imposter.

-
Check the tag
The first tip is to ALWAYS check the tag. Not all vintage garments will have a tag, but if they do it is normally your first clue. If a tag is old or worn this can be the first sign that it may be true vintage.
First check for a "Union Made" label. In women's clothing, it will usually have the letters "ILGWU", the International Ladies’ Garment Workers’ Union. If you find the ILGWU tag to be red, white, and blue, then this garment is dated later than 1974 but earlier than 1995.
Next check for a label with garment care instructions. Usually if your piece of clothing has garment care instructions, then your garment is dated at 1971 or later.
Finally, check for a lot or style number tag. Sometimes I will find a vintage garment that has a small tag showing a string of numbers as the lot and style numbers. These numbers stopped being used in 1979.


-
Check the zipper
If the garment's zipper teeth are metal, then the piece of clothing is most likely dated at 1963 or earlier. After 1963, zippers became available in plastic. The zipper in a vintage garment will normally be either on the side or down the middle of the back. In the 30’s and 40’s, the zipper was mostly likely placed on the side. A middle back zipper is common for the 50’s, 60’s, and 70’s.

- Examine the sewing job
Check the sewing job! Right up until the 1970’s, women were often sewing their own clothes. Home sewn garments might have imperfect lines or seams. Also check the hem to see if it is hand stitched!
The finishing on the interior seams can also help you to date a vintage piece. A "pinked seam" will most likely be on a homemade item or a garment from the 50’s. The pinked seam looks like teeth, using the pinking shears as a way to reduce fraying. Seams finished with a serger date from the 1960’s to the present. The serger leaves a secure seam finish resembling a zig zag type stitch. If the seams are unfinished, then your garment most likely predates the 1950’s.


3. Knowing Vintage Labels & When to Splurge
I'm normally very thrifty when shopping for vintage, but sometimes it is worth it to spend a little more to get something special! It is important to know vintage designer labels by name to know how much something is worth! Certain labels are much more collectible and sought after, therefore sellers charge a higher price for them. Usually these garments are more well made. Just as someone would pay more for a modern designer label because it is usually of higher quality, it is worth paying more for a vintage garment with a designer label!
Luckily this is much easier with the internet and smart phones! Usually right on the spot when I happen upon a label I'm unfamiliar with, I will search the name on Etsy to see what similar pieces are going for. A great reference for more information on labels and vintage clothing in general is the Vintage Fashion Guild.

![]()


4. How to Care for & Repair Vintage
When cleaning vintage clothing, DO NOT EVER use your washer and dryer. Don't forget that these garments are very old and often have fragile seams. I recommend hand washing and air drying. Instead of using an iron, use a steamer, unless the tag specifies not to steam clean.
Check out these products that I find super helpful for cleaning vintage:
- Grandma's Spot Remover: You can buy this at your local JoAnn's Fabrics or Hobby Lobby! Great for removing spot stains.
- Retro Clean: Easy to order online. Specifically made to hand wash vintage garments.


Even if you are not an expert seamstress, there are easy ways to hand stitch and repair vintage pieces. I have a sewing machine but am super guilty of never using it! To fix a hem quickly, I sometimes use stitch witchery! It is heat activated so you can use your iron or even your hair straightener to get it to adhere!
The one place that I always find rips when wearing is the underarms! After tearing many an underarm over and over, I've found this is not the place to skimp on the repair job! Do it right and reinforce the tear with a patch before sewing it back together.
4. How to wear damaged vintage
When wearing vintage, damaging it is an inevitability! So many times I have worn a vintage dress to work, and by the end of the day both underarm seams are torn! Sometimes, life gets in the way and you have a stack of damaged vintage that you tell yourself you are going to sew but you never quite get around to it!
It is totally okay to wear damaged vintage as it is. I have multiple cotton 1950's dresses with torn underarms. I just throw on a cropped cardigan and nobody can tell! Have a dress with a stubborn stain on the neckline? Wear a pretty brooch over it and most will be distracted by the sparkle! Cover up that splitting waist seam with a cute belt! Damaging your vintage will definitely happen and if you want to wear it in your everyday life you have to be able to roll with whatever happens!


I bet you can't tell, but in both of these pictures I am wearing damaged vintage dresses! The first dress has a huge underarm patch, and the second has a side seam split I covered with a cardigan!
These are just a few of my quick personal tips! For more extensive information on vintage clothing, please check out the Vintage Fashion Guild! It is a great resource!
XOXO
Kerri Morin,
Visual & Social Media Manager, Modern Millie

0 comments